
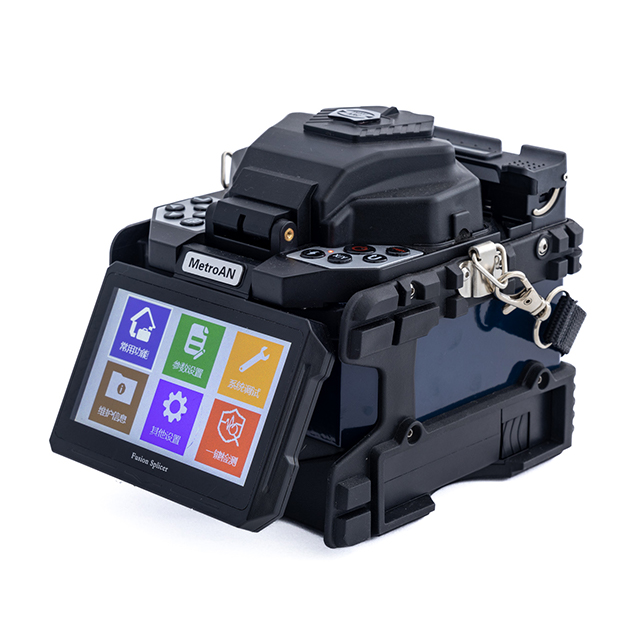
English 

Views: 0 Author: Site Editor Publish Time: 2025-10-14 Origin: Site
The following 5 key methods can help you get smaller splicing loss:
1.To Clean V-Shaped Groove
2.To Clean Optical Fiber Pressure Head
3.To Clean Objective Lense(In case of cleaning Objective Lens,it is unnecessary to remove needle electrodes)
4.Replacing the Electrode
5.Discharge Tests
1.To Clean V-Shaped Groove


If dusts or contaminations in the V-shaped groove, Fiber Pressure Head can not suppress the Optical Fiber correctly, resulting in larger splicing loss. So, in regular operation, it is necessary to check more often and clean regularly the V-shaped groove.
To open the windproof cover.
To clean the bottom of the V-shaped groove with a cotton swab just having had a dip in alcohol (above 99% alcohol), and remove the excess alcohol in the V-shaped groove with a dry cotton swab.
If contaminations in the V-shaped groove can not be removed with a cotton swab just having had a dip in alcohol, you can use the well-cut end face of the optical Fiber to clean the bottom of the V-shaped groove, and then repeat the previous step.
In case of cleaning the V-shaped groove, be careful and don’t exert an excessive force, so as to avoid damage to the V-shaped groove.
Be careful and don’t touch the tip of the needle electrode.
2.Clean Optical Fiber Pressure Head
If there are contaminations on the Optical Fiber Pressure Head, the optical Fiber Pressure Head can not suppress the Optical Fiber normally, resulting in degrading the quality of fusion splicing.
To open the windproof cover.
To clean the surface of the Optical Fiber Pressure Head with a cotton swab just having had a dip in alcohol (above 99% alcohol), and remove the excess alcohol on the surface of the Optical Fiber Pressure Head with a dry cotton swab.
3.Cleaning the Objective Lens

If there are contaminations on the surface of the Objective Lens, the normal location of the observed optical Fiber core may be affected, resulting in the increase of the fusion splicing loss or poor fusing splicing, so, it is necessary to regularly clean two objective lenses, otherwise, the cumulative contaminations are difficult to remove.
Before cleaning, please firstly turn off the power supply.
Using a cotton swab just having had a dip in alcohol (above 99% alcohol), to gently wipe the surface of the objective lens, starting the wipe from the middle of the lens to do a circular movement until the edge of the lens, and repeating several times until there are no contaminations or stains or stripes. Finally, use a clean and dry cotton swab to wipe out the residual alcohol on the surface of the objective lens.
Be careful and don’t touch the electrode tip in case of cleaning.
It is recommended to clean the lens in case of replacing the needle electrode.
4.Replacing the Electrode


The electrode will wear in use, and the electrode tip will be aggregated with silicon oxide, so, to regularly clean the oxide can effectively extend the life of the needle electrode. It is recommended to replace the electrode after Optical Fiber Fusion Splicer has discharged 3000 times. If you continue to use the electrode, it may most probably lead to have a very large fusion-splicing loss and reduce the strength of the fusion-splicing points.
Steps of replacement of the needle electrode:
To turn off the power supply of the Optical Fiber Fusion Splicer.
To screw out fixing screws, and remove the old needle electrode suffered from electric shock.
To use a tissue just having had a dip in alcohol to clean the new needle electrode, and then install correctly the needle electrode on the Optical Fiber Fusion Splicer and tighten the fixing screws.
To turn on the power, and put the prepared fiber into the Optical Fiber Fusion Splicer to do the discharge tests.
5.Discharge Tests
(1) Arc parameter calibration


In order to ensure the stable splicing quality, should regularly operate . Such conditions should do like ultra-high or low temperature , very dry or wet, electrode degradation, splicing of the heterogeneous fibers, cleanness, or after replacing the electrode.
The discharge tests need two optical fibers being ready to be fusion-spliced, and according to the general method of fusion splicing, should be stripped, cleaved off, and placed. Press to enter discharge tests program.
After the discharge, a numeric value will be displayed on the screen. If the value is within the range of 45-65, discharge is normal. If the less than 45, discharge is weak, then increase the discharge corresponding to the executive program. If showed greater than 65, discharge strength is too strong, that need to reduce the discharge strength
corresponding to the executive program.
If different in fusion degrees at both sides after discharge, increase the “Gap Position” value in the “System Setting” Menu in case that degree at the right is high; otherwise reduce the “Gap Position ”value if degree of the optical fiber at the left is high.
(2) Display parameter calibration


Display Config-Auto is to adjust the display range of optical fiber, and make the optical fiber showed in the center of screen.
(2.1)Display Config-CCD
Display Config-CCD is to adjust the CCD automatically

(2.2)Display Config-LED
Display Config-LED is to adjust the brightness of LED
The brightness of LED we suggest among 120-130

(2.3)Display Setting – Dust Check
Display Config-CCD is to Check whether there is dust in the display system
